Potting Soil in Aquariums: The 'Dirted Tank' Method Explained

A layered aquarium substrate with a dark soil base capped by a layer of sand, with plants rooted into it

Quick Facts

What It Is
Using ordinary organic potting soil as a nutrient-rich base layer, capped with sand or fine gravel
Best For
Low-tech, heavily planted ('Walstad method') tanks where soil nutrients reduce or replace separate fertilizing
Soil Selection
Plain organic potting soil without added time-release fertilizers, perlite, vermiculite, or wetting agents
Cap Layer
A sand or fine gravel cap (commonly around 1-2 inches) keeps soil from clouding the water and floating
Initial 'Dirt Cloud' Period
New dirted tanks often go through a cloudy, nutrient-rich settling period in the first days to weeks
Ammonia Considerations
Breaking down organic matter can contribute to elevated ammonia early on — fishless cycling is generally recommended
Floating Debris
Perlite, vermiculite, and undecomposed organic bits can float to the surface if present in the soil
Bottom Line
A low-cost, nutrient-dense substrate option with a messier and more variable setup process than inert substrates

"Dirted tank" sounds like a description of a problem rather than a setup method, which is part of why it surprises people the first time they hear experienced planted-tank keepers recommend it on purpose. The core idea — ordinary soil, capped and submerged — really does work, but the path from "bag of potting soil" to "thriving low-tech planted tank" has a few steps worth understanding first.

Direct Answer: Soil as a Nutrient Base, Capped to Keep It in Place

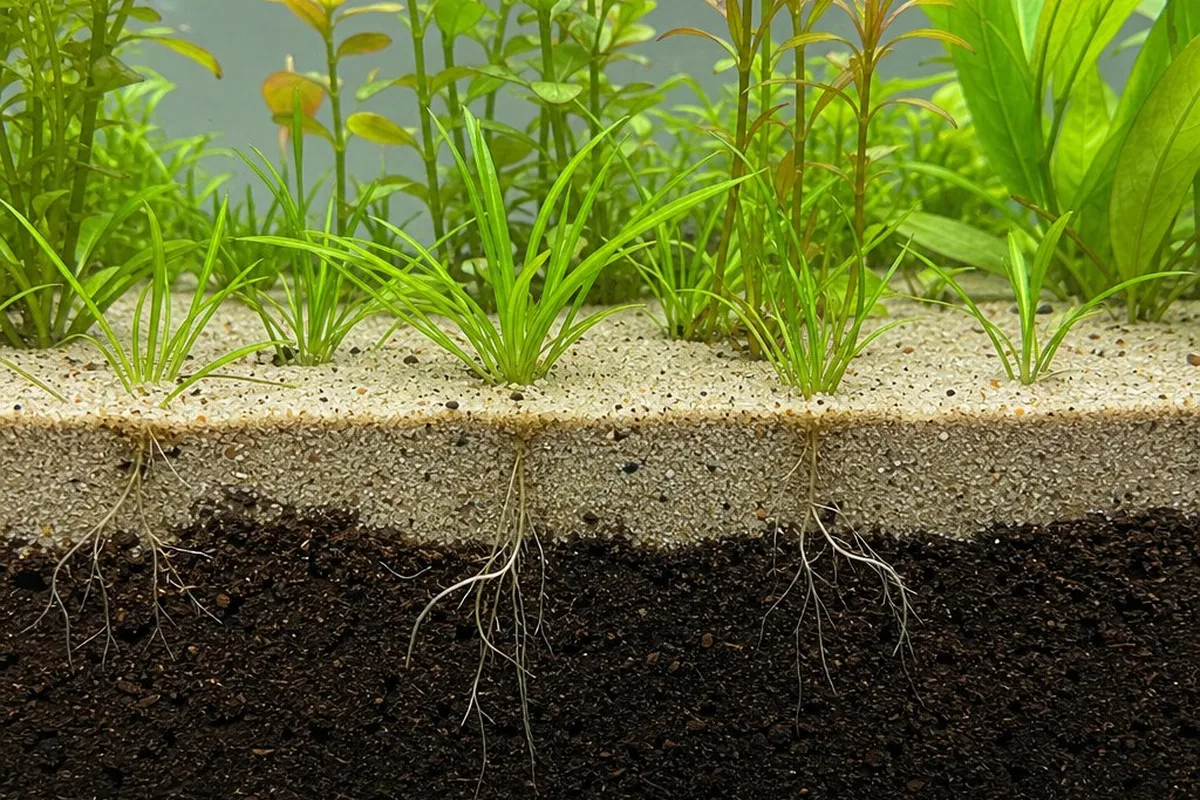
The dirted tank method uses a layer of plain organic potting soil as a nutrient-rich substrate base, capped with sand or fine gravel (commonly 1-2 inches) to hold it down and keep the water clear. The appeal is nutrient density at low cost — soil-derived nutrients can reduce or eliminate the need for separate fertilizing in a heavily planted, low-tech tank. The trade-offs: soil needs to be chosen carefully (avoiding fertilizer beads, perlite, vermiculite, and additives), the first days to weeks often involve cloudy water and floating debris as things settle, and fishless cycling is a good idea given the extra organic matter breaking down early on.

Why Use Soil At All?

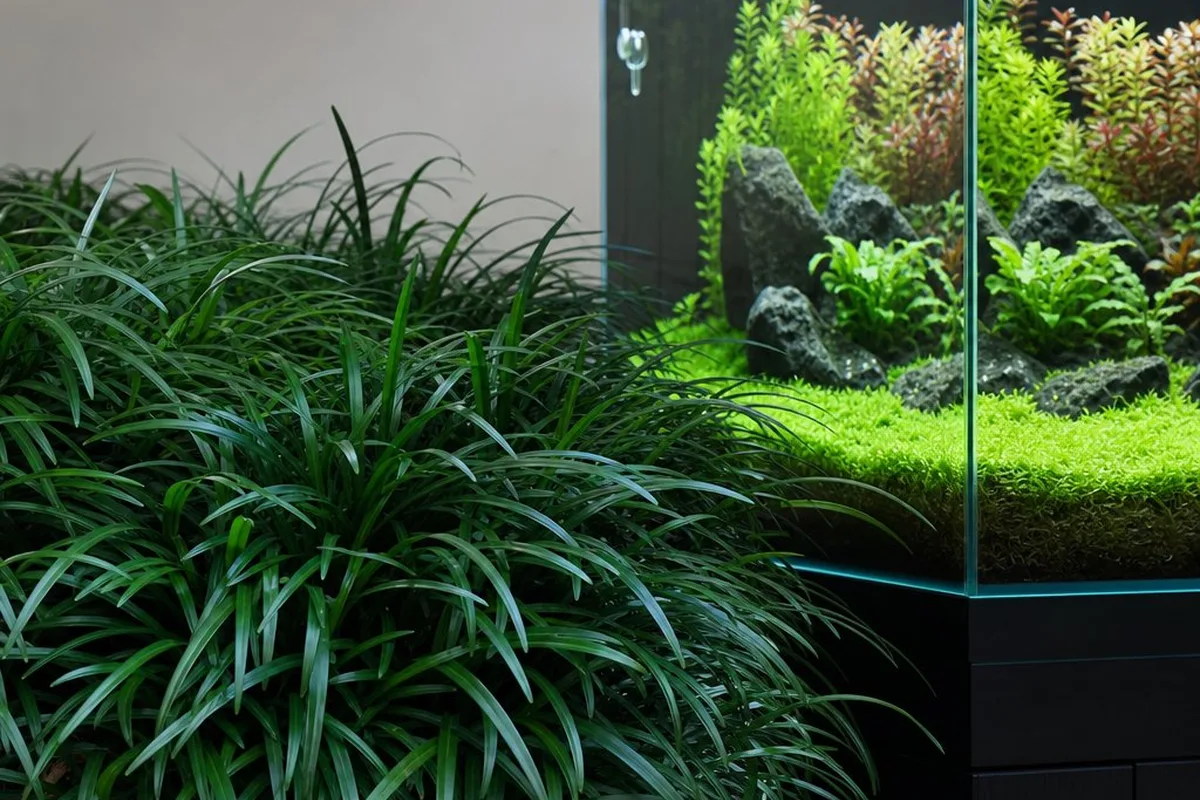
Commercial aquatic plant substrates exist precisely because plants need nutrients in the substrate, not just the water column — our guide to plant substrate covers that case generally. Garden soil contains many of the same nutrients (organic matter, trace minerals) that aquatic substrates are formulated to provide, at a fraction of the cost per gallon. For a low-tech, heavily planted tank — often run without CO2 injection and with moderate lighting — this nutrient base can be enough to support strong plant growth with minimal additional fertilizing.

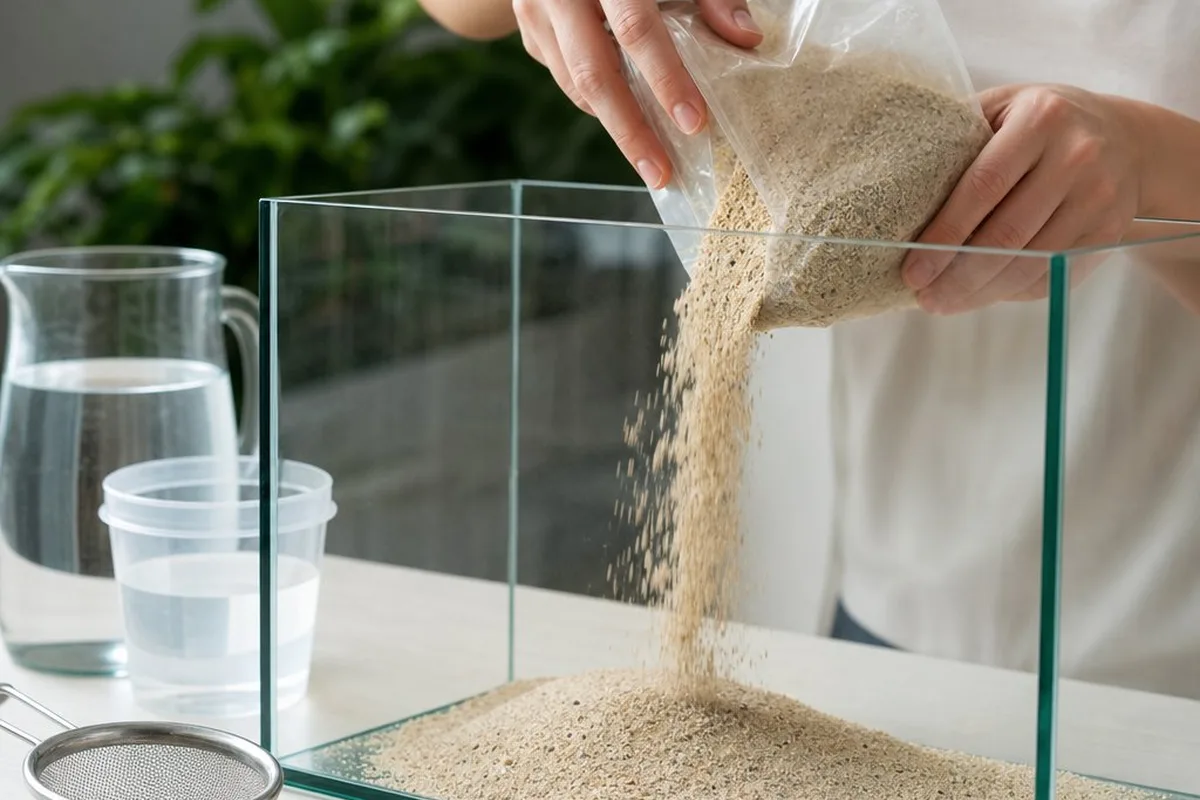
Choosing (and Prepping) the Soil

This is the step where most of the variability in outcomes comes from. The goal is plain organic potting soil — but most bagged potting mixes include extras meant for container gardening:

  • Time-release synthetic fertilizers — often visible as small colored beads; these can leach nutrients unpredictably and contribute to algae problems
  • Perlite and vermiculite — lightweight particles added for drainage/aeration; these float persistently in an aquarium and are difficult to fully remove once the tank is running
  • Wetting agents or pesticides — generally best avoided entirely in a tank with livestock

Reading labels for "organic" soil with minimal additives is the starting point, and sifting the soil to remove visible perlite/vermiculite before use is a common extra step that saves frustration later.
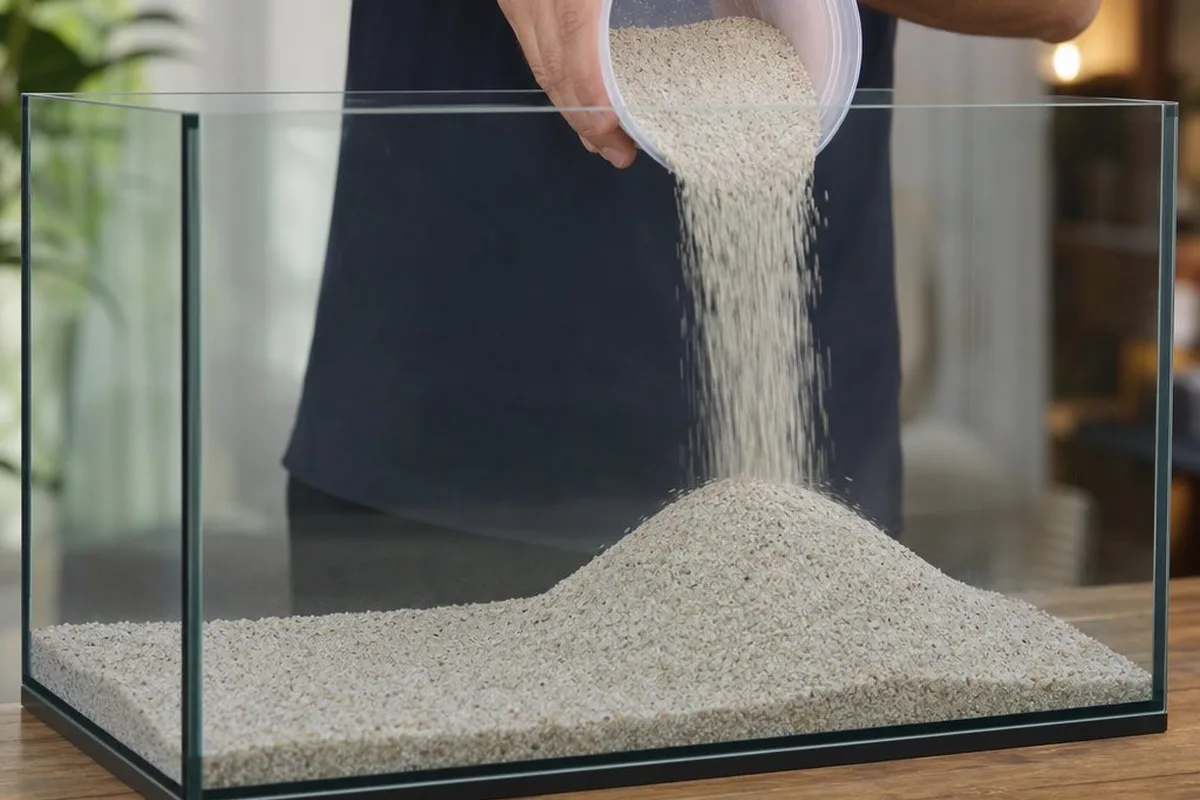
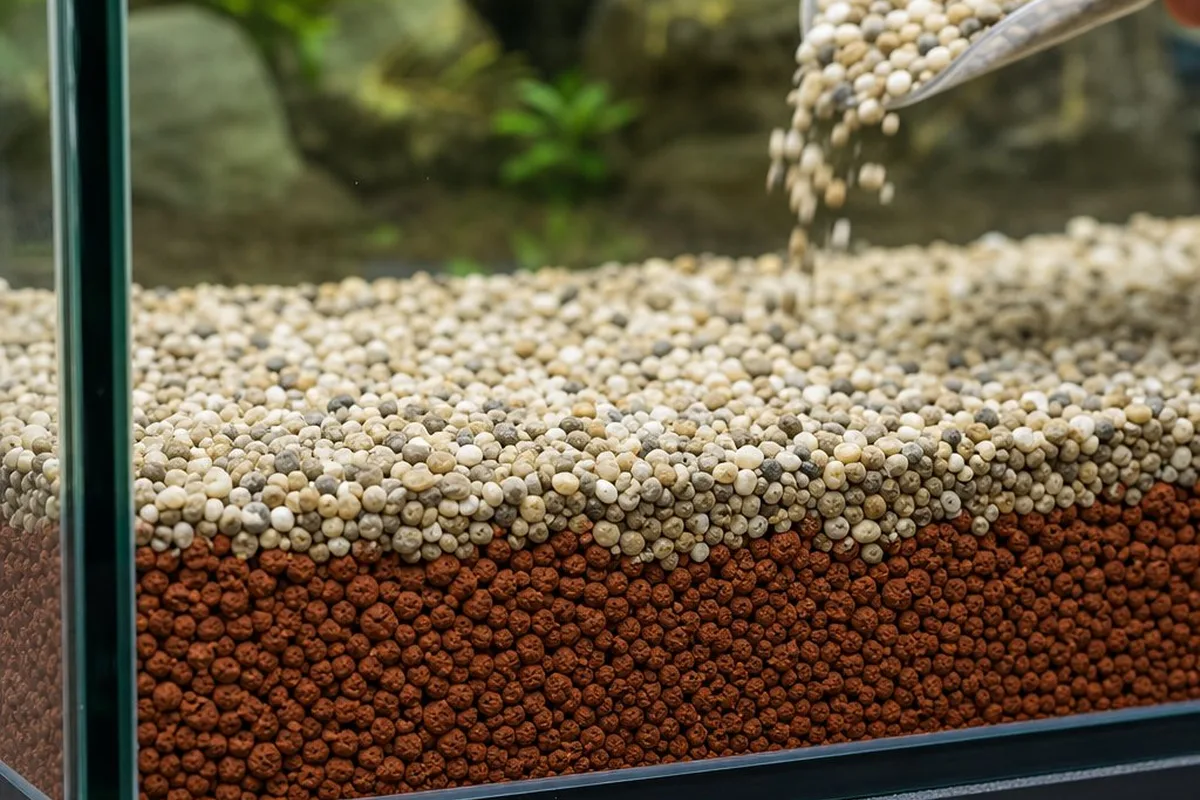
The Cap Layer

A layer of sand or fine gravel over the soil — commonly around 1-2 inches — serves a few purposes: it physically holds the soil in place, reduces how much soil clouds the water during initial filling, and gives roots something to anchor into near the surface. How this cap interacts with overall substrate depth is worth thinking through alongside how much substrate a given tank size actually needs, since the soil layer adds to total substrate height and weight.

The Messy First Weeks

New dirted tanks commonly go through a "dirt cloud" or "pea soup" phase — cloudy water and floating debris as fine particles suspend, organic matter begins breaking down, and any escaped perlite/vermiculite rises to the surface. This typically settles over days to a couple of weeks as particles settle, get filtered out, or are skimmed off. A well-placed cap layer reduces the severity of this phase but rarely eliminates it entirely — it's a normal, if unglamorous, part of the process.

Cycling Considerations

Organic matter breaking down in a fresh dirted substrate can add ammonia beyond what fish waste alone produces — one more reason fishless cycling (see our guide to nitrite and nitrate during cycling) is a sensible default for a new dirted tank, letting the initial breakdown and bacterial establishment happen before fish are exposed to it. Once mature, a healthy dirted tank often needs less ongoing fertilizer dosing than an inert substrate — but getting there takes patience through the early weeks.

Quick Reference

  • Dirted tanks use plain organic potting soil, capped with sand/gravel, as a nutrient-rich substrate
  • Avoid soil with time-release fertilizer beads, perlite, vermiculite, or pesticides/wetting agents
  • A 1-2 inch cap layer holds soil down and reduces (but doesn't eliminate) cloudiness
  • Expect a "dirt cloud" period of cloudy water and floating debris in the first days to weeks
  • Fishless cycling is recommended given the extra organic breakdown in fresh dirted substrate
  • A mature dirted tank can need less ongoing fertilizing than an inert substrate setup

Frequently Asked Questions

What is the 'dirted tank' or Walstad method, and why use potting soil?

The 'dirted tank' approach — popularized by Diana Walstad's writing on low-tech planted aquariums — uses a layer of ordinary organic soil as the substrate's base, capped with sand or gravel, instead of an inert substrate or a commercial aquatic soil product. The appeal is nutrient density at low cost: garden soil contains organic matter and nutrients that plants can draw on directly through their roots, which can reduce or eliminate the need for separate root tabs or liquid fertilizers in a heavily planted, low-tech (often low-light, no-CO2-injection) setup. It's essentially using a cheap, widely available material to get some of the benefits of a nutrient-rich aquatic substrate — with more variability and a messier setup process in exchange for the lower cost.

What kind of potting soil should I use — and what should I avoid?

Plain organic potting soil, with nothing extra added, is the goal — and that's harder to find than it sounds, since most bagged potting soils include additives meant for container gardening that aren't useful (or are actively problematic) underwater. Things to avoid or check for: time-release synthetic fertilizers (often visible as small colored beads, which can leach nutrients in an uncontrolled way and contribute to algae blooms), perlite and vermiculite (lightweight white or shiny particles added for drainage/aeration in potting mixes — these tend to float persistently in an aquarium), and wetting agents or pesticides, which have no place in a tank with fish. Reading the ingredient list and looking for soils marketed as 'organic' with minimal additives is the general approach — though even then, sifting out visible perlite/vermiculite before use is a common extra step.

Why is the water cloudy and is stuff floating after I set up a dirted tank — is that normal?

Yes, this is a very common and largely expected part of the dirted-tank setup process, sometimes called the 'dirt cloud' or 'pea soup' phase. When soil is first submerged, fine particles suspend in the water column, organic matter begins breaking down, and any floating debris (bits of undecomposed plant matter, perlite/vermiculite if present, or just lightweight soil particles that escaped the cap layer) can rise to the surface. This typically settles over the first several days to a couple of weeks as particles either settle out, get filtered out, or are skimmed off the surface. A cap layer of sand or fine gravel — generally 1-2 inches, placed carefully over the soil before adding water — substantially reduces how much of this happens in the first place, since it physically holds the soil down.

Does using potting soil as substrate affect cycling or make ammonia spikes more likely?

Potentially, yes — organic matter breaking down in the substrate can contribute additional ammonia beyond what fish waste alone would produce, especially in the first weeks of a new dirted tank. This is one of the reasons fishless cycling (covered in our guide to nitrite and nitrate during cycling) is generally a good idea for a dirted tank specifically — letting the initial breakdown and bacterial establishment happen before fish are added avoids combining 'new tank cycling' with 'new substrate breaking down' while fish are present. Once established, a mature dirted tank with healthy plant growth often runs with lower ongoing nutrient dosing needs than an inert substrate would require — but that maturity takes some weeks to reach, and the early period deserves the same caution as any new tank's cycling phase, arguably more so.

Sources & Further Reading

  1. Substrate Choices for Planted Aquariums — The Planted Tank Forum
  2. Low-Tech Planted Tank Setup Methods — Practical Fishkeeping
Hektor Jorgo

About the Author: Hektor Jorgo

Co-Founder & Marine Biologist

Hektor is a co-founder of Sea Life Planet and has kept reef and freshwater aquariums for over 15 years. He holds a background in marine biology and focuses on species care accuracy, water chemistry, and tank husbandry.