Coral Pro Salt is one of the more popular "premium" reef salt mixes, marketed specifically toward tanks with growing coral — but the actual mixing process trips up a fair number of reefers, usually in the same handful of ways.
Short Answer
Mixing Red Sea Coral Pro Salt correctly comes down to three things: start with RO/DI water, follow the printed ratio as a starting point rather than a final answer, and don't test salinity until the mix has fully dissolved and reached your tank's temperature. Coral Pro Salt is formulated with elevated calcium and alkalinity compared to standard reef salt mixes, which is its main selling point for tanks with actively calcifying corals — but that elevated mineral content doesn't change the mixing process itself, just what you'll measure once it's dissolved. Most "my mix isn't right" problems trace back to testing too early, inconsistent source water, or not accounting for temperature when reading specific gravity.
Step 1: Start With Good Source Water
Coral Pro Salt, like any reef salt mix, is formulated to be combined with pure water — RO/DI (reverse osmosis/deionized) water is the standard, and for good reason. Tap water carries its own dissolved minerals and, depending on your local water supply, can carry phosphate, nitrate, silicate, or other contaminants that aren't removed by the salt-mixing process. These end up directly in your tank with every water change, working against the water-quality benefits a fresh salt mix is supposed to provide.
If you're seeing inconsistent results between batches — different salinity readings for the "same" mix ratio, or algae issues that seem to track with water changes — inconsistent or contaminated source water is one of the first things worth ruling out, alongside checking your RO/DI source water TDS.
Step 2: Mix at the Right Ratio — Then Verify
Red Sea prints a specific mix ratio on Coral Pro Salt packaging, designed to hit a target specific gravity (commonly in the 1.025-1.026 SG range, roughly 35 ppt) at a typical reef tank temperature. This ratio is a starting point, not a guarantee — actual results can vary slightly based on your exact source water, container, and measurement equipment.
The practical workflow:
- Measure out RO/DI water into your mixing container
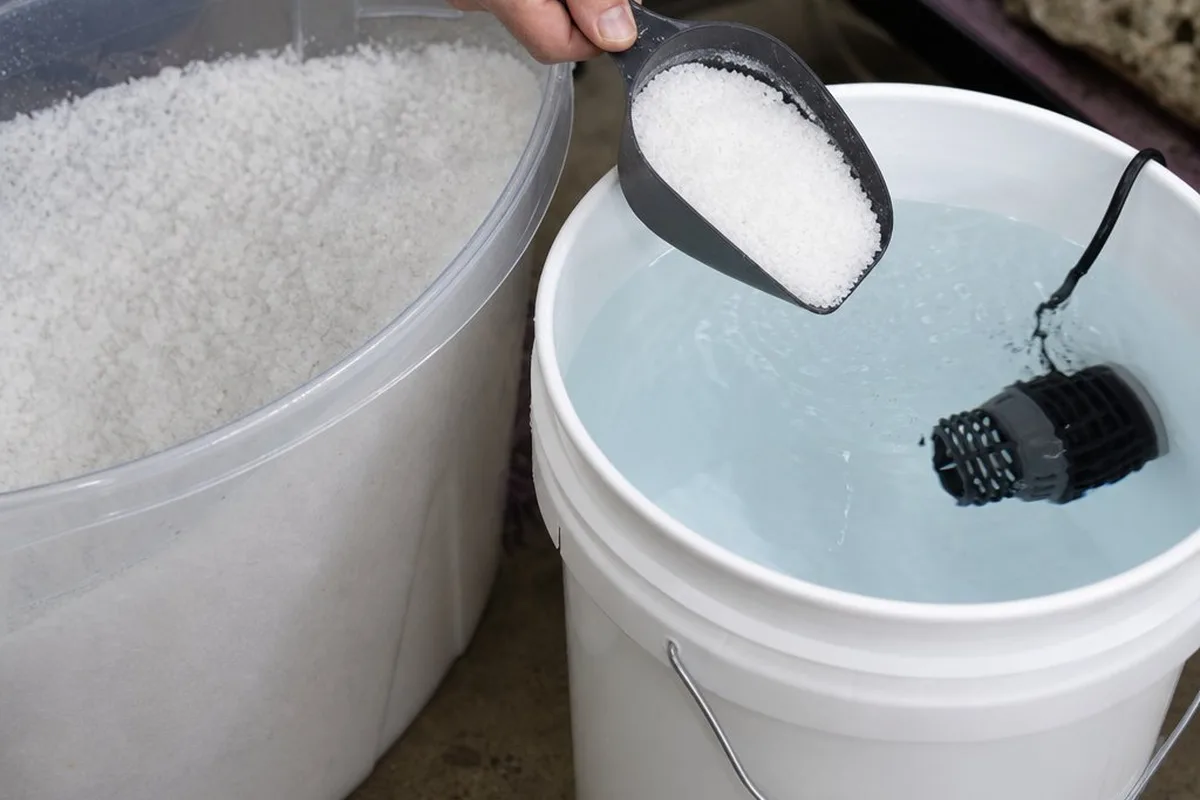
- Add the salt mix according to the printed ratio for that water volume
- Circulate continuously with a powerhead or pump
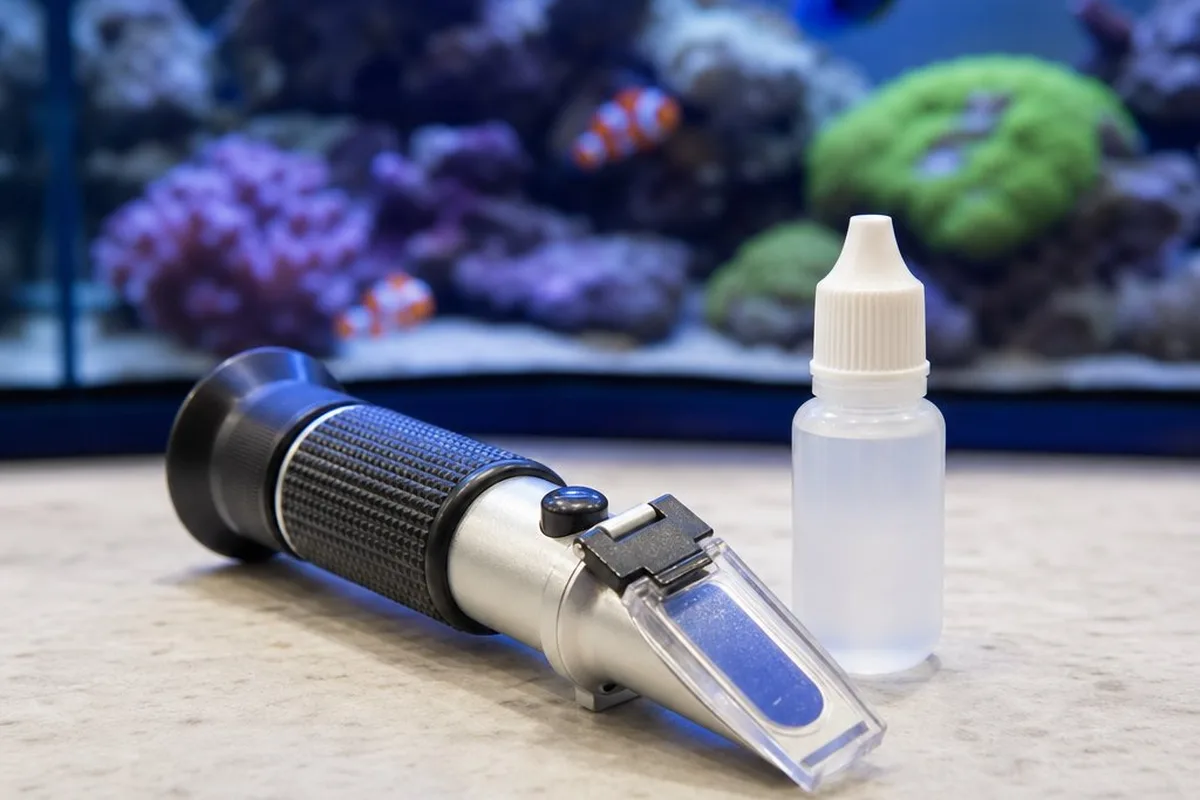
- Once fully dissolved and at temperature, test salinity with a refractometer or hydrometer
- Adjust — add a small amount of RO/DI water to lower salinity, or a small additional amount of salt mix to raise it — and re-test
This last step matters because salt mix ratios are rarely "exact" for every setup, and small adjustments after the initial mix are normal, not a sign you did something wrong.
Step 3: Give It Time to Fully Dissolve
This is where a lot of mixing issues actually originate. Coral Pro Salt, like other reef salt blends, contains a mix of mineral compounds that dissolve at different rates — some go into solution almost immediately, others take longer. Right after adding the salt, it's normal for the water to look cloudy or hazy, sometimes for an extended period.
Continuous circulation is the fix — running a powerhead or pump in the mixing container for several hours (overnight is common for larger batches) until the water runs clear with no visible undissolved material settling at the bottom. Testing salinity before this point will give you a lower-than-actual reading, because undissolved salt isn't yet contributing to the water's measured density — leading some reefers to add extra salt "to compensate," which then overshoots once the original amount fully dissolves.
Step 4: Account for Temperature When Testing
Specific gravity and salinity readings are temperature-dependent — the same water will read slightly differently at 65°F fresh out of the tap versus 78°F at your tank's operating temperature. Most refractometers and hydrometers are calibrated for a specific reference temperature (often listed in the instructions), and reading a freshly mixed batch that's still cooling or warming can give a slightly misleading number.
The practical takeaway: let a freshly mixed batch reach roughly the same temperature as your tank before doing your final salinity check — this is one of the reasons many reefers mix water a day in advance rather than right before a water change, which also conveniently lines up with giving the mix enough time to fully dissolve (Step 3).
What Makes Coral Pro Salt Different — and Why It Matters for Dosing
The main distinction between Coral Pro Salt and Red Sea's standard reef salt mix is elevated calcium and alkalinity straight out of the bucket — aimed at tanks where corals are actively calcifying and consuming these elements faster than a standard mix replenishes them. The mixing process doesn't change, but the results do: a freshly mixed batch of Coral Pro Salt will generally test higher on calcium and alkalinity than the same volume of standard salt mix at an equivalent salinity.
This is worth keeping in mind if you're also running a separate dosing routine (two-part dosing, kalkwasser, etc.) for alkalinity and calcium — using Coral Pro Salt for water changes on top of an existing dosing schedule can push these parameters higher than expected if the combined contribution isn't accounted for. Testing after water changes, rather than assuming the salt mix and dosing routine simply "add up" predictably, helps catch this early.
Quick Reference
- Use RO/DI water as your base — avoid tap water for mixing
- Follow the printed mix ratio as a starting point, then verify with a refractometer/hydrometer
- Circulate with a powerhead/pump for several hours (or overnight) until fully dissolved
- Don't test salinity until the mix is clear and at your tank's operating temperature
- Adjust salinity gradually with small additions of RO/DI water or salt mix, then re-test
- Expect higher calcium/alkalinity readings than standard salt mixes at the same salinity
- If also dosing alkalinity/calcium separately, test after water changes to avoid stacking effects