Troubleshooting Guide for Aquarium Hood Lights
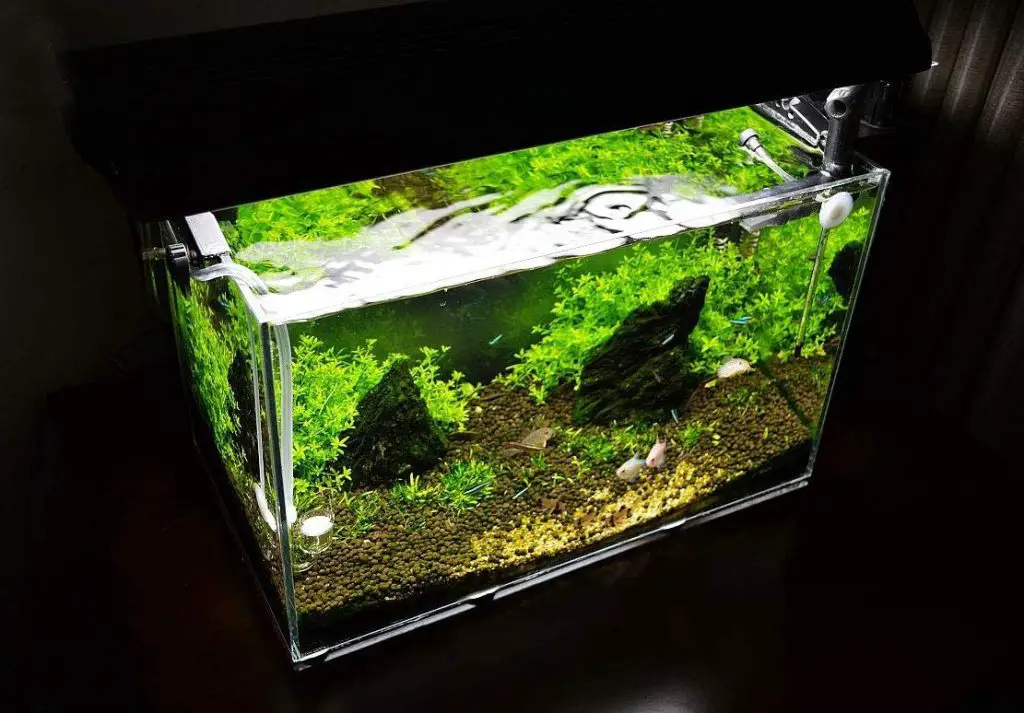
When the hood light of your aquarium stops working, it can be highly frustrating and potentially harmful to the health of your fish and plants. The hood light plays a crucial role in providing essential lighting for your aquarium, promoting the growth of plants, and ensuring the well-being of your aquatic pets.
Key Takeaways:
- Understanding common issues with aquarium hood lights is crucial in troubleshooting and resolving problems effectively.
- Checking the electrical supply and connections is the first step in diagnosing the issue with your aquarium hood light.
- Using the right tools and techniques is essential for effective troubleshooting and repair.
- Replacing bulbs following a step-by-step guide can help restore the functionality of your aquarium hood light.
- Addressing specific components such as starters, ballasts, and fluorescent lights can resolve many aquarium hood light issues.
Diagnosing the Issue
Checking Electrical Supply and Connections
A common reason for aquarium hood lights not turning on or functioning properly is an issue with the electrical supply or connections. Before proceeding with any repairs, ensure that the power source is working and that all connections are secure.
Check if the power cord is properly plugged in and if there are no damages to the cord or the outlet. Additionally, inspect the wiring connections between the hood light and the ballast or starter to ensure they are tightly connected.
Tools and Techniques for Troubleshooting
To effectively troubleshoot your aquarium hood light, you will need a few essential tools and techniques. Some useful tools include a multimeter for testing electrical components, a screwdriver for accessing the hood light fixtures, and wire cutters for necessary repairs.
It may also be helpful to have a small flashlight to inspect the internal components of the hood light. Familiarize yourself with these tools and their proper usage before attempting repairs to avoid further damage to your aquarium hood light.
Step-by-Step Guide to Replacing Bulbs
One of the most common issues with aquarium hood lights is a malfunctioning or burnt-out bulb. If you determine that the bulb is the cause of the problem, replacing it may resolve the issue. Follow this step-by-step guide to replace the bulbs in your aquarium hood light:
- Turn off the power supply to the hood light.
- Remove the hood or cover of your aquarium to access the light fixture.
- Unscrew the old bulb from its socket and carefully remove it.
- Insert a new bulb into the socket, ensuring it is securely in place.
- Screw the bulb into the socket until it is tightened.
- Replace the hood or cover of your aquarium and ensure it is properly secured.
- Turn on the power supply to the hood light and check if the new bulb is functioning correctly.
These troubleshooting steps and guides will help you diagnose and fix common issues with your aquarium hood light. In the next section, we will explore specific components that may require attention if the problem persists.
Dealing with Specific Components
How to Replace the Starter
If the starter in your aquarium hood light is faulty, it could be why it is not working. To replace the starter:
- Turn off the power supply to your aquarium hood light.
- Locate the starter, which is usually located near the ballast.
- Remove the old starter by gently twisting it counterclockwise.
- Insert the new starter by twisting it clockwise until it is secure. Make sure it is aligned properly.
- Turn on the power supply and check if the light is functioning properly. If not, proceed to the next troubleshooting steps.
Changing the Ballast in Aquarium Lights
The ballast is another key component that can impact the functionality of your aquarium hood light. To change the ballast:
- Ensure that the power supply to your aquarium hood light is turned off.
- Locate the ballast, which is usually housed within the fixture.
- Disconnect the wiring connectors from the ballast.
- Remove the screws securing the ballast to the fixture.
- Install the new ballast by following the manufacturer’s instructions and secure it with the screws.
- Reconnect the wiring connectors to the new ballast.
- Turn on the power supply and check if the light is functioning correctly.
Handling Fluorescent Light Replacement
If the fluorescent light tube in your aquarium hood light is not working, it may need to be replaced. Follow these steps to handle fluorescent light replacement:
- Ensure that the power supply to your aquarium hood light is turned off.
- Remove the old fluorescent light tube by gently twisting it counterclockwise.
- Dispose of the old tube safely and responsibly according to your local regulations.
- Please insert the new fluorescent light tube by twisting it clockwise until it is secure.
Alternative Lighting Solutions
If you are facing issues with your aquarium hood light not working properly or simply looking for alternative lighting solutions, this section will provide you with valuable information.
The Benefits of LED Aquarium Lights
LED aquarium lights offer several advantages over traditional lighting options. Understanding these benefits can help you make an informed decision when considering alternative lighting solutions for your aquarium.
Energy Efficiency: LED lights are highly energy efficient, consuming less power than fluorescent or incandescent lights. This not only helps you save on electricity bills but also minimizes the heat transfer into the aquarium, preventing water temperature fluctuations.
Longevity: LED lights have an extended lifespan, typically lasting tens of thousands of hours. This longevity reduces the frequency of bulb replacements and saves you money in the long run.
Customization: LED lights allow for precise control of light intensity and color spectrum. This enables you to create customized lighting setups tailored to the specific requirements of your aquatic ecosystem.
Reduced Heat Generation: LED lights produce less heat than other lighting options. This helps maintain optimal water temperature in your aquarium and reduces the risk of overheating.
Environmental Friendliness: LED lights are free from hazardous mercury, making them an environmentally friendly lighting solution for your aquarium.
When to Replace LED Aquarium Lights
While LED lights are known for their longevity, they will eventually require replacement. Here are some indicators that it may be time to replace your LED aquarium lights:
- Dimming: If your LED lights are noticeably dimmer than before, it could be a sign that they are nearing the end of their lifespan.
- Color Shift: Over time, LED lights may undergo a color shift, causing the light spectrum to change. If you notice a significant difference in the color output, it may be time for a replacement.
- Flashing or Flickering: LED lights should provide a steady and consistent light output. If you experience flashing or flickering, it could indicate a problem with the lights and warrant a replacement.
- Failure to Turn On: If your LED lights fail to turn on despite checking the electrical connections, it may indicate that the lights have reached their end of life.
It’s important to monitor the performance of your LED aquarium lights and proactively replace them when necessary to ensure your aquatic environment receives optimal lighting.
Final Recommendations
Now that you have learned how to troubleshoot and fix issues with your aquarium hood light, there are a few final recommendations to remember.
Firstly, it’s important to keep a toolkit for quick fixes. This toolkit should include tools like screwdrivers, pliers, and wire cutters. Having these tools readily available will enable you to address any minor problems that may arise with your aquarium hood light quickly and efficiently.
In addition to having a toolkit, regular light maintenance is crucial for the optimal performance of your aquarium hood light. Dust and debris can accumulate on the light fixtures, affecting their brightness and efficiency.
Make it a habit to clean the light fixtures regularly using a soft cloth or sponge to ensure proper light output. Regular maintenance also includes checking the connections and wiring for any signs of damage or wear. By staying proactive with light maintenance, you can avoid potential issues and extend the lifespan of your aquarium hood light.
Following these final recommendations, you can ensure that your aquarium hood light remains in good working condition, illuminating your fish and plants. Having a toolkit for quick fixes and staying on top of regular light maintenance will help you prevent future problems and maintain a vibrant and healthy aquarium environment.


